WILD: Four Principles That Will Make Every Wildlife Photo Better
WILD: Four principles. One framework. A five week series on what separates a technically correct wildlife photo from one that makes someone stop scrolling.
I know I'm back a lot later than I said I would be, well life is life, but I'm back and I have a big series for all of you so let's dive in.
There's a shift that happens at some point for almost every wildlife photographer. It's hard to pinpoint exactly when, but you know it when it happens. You stop looking at a scene and thinking there's a bird and you start thinking about the light coming through the trees behind it, the way the water is sitting, the mood of the whole frame. The bird is still there. The bird is still important. But somewhere along the way it stopped being the subject and started being the punctuation mark at the end of the sentence.
That shift is what this series is about.
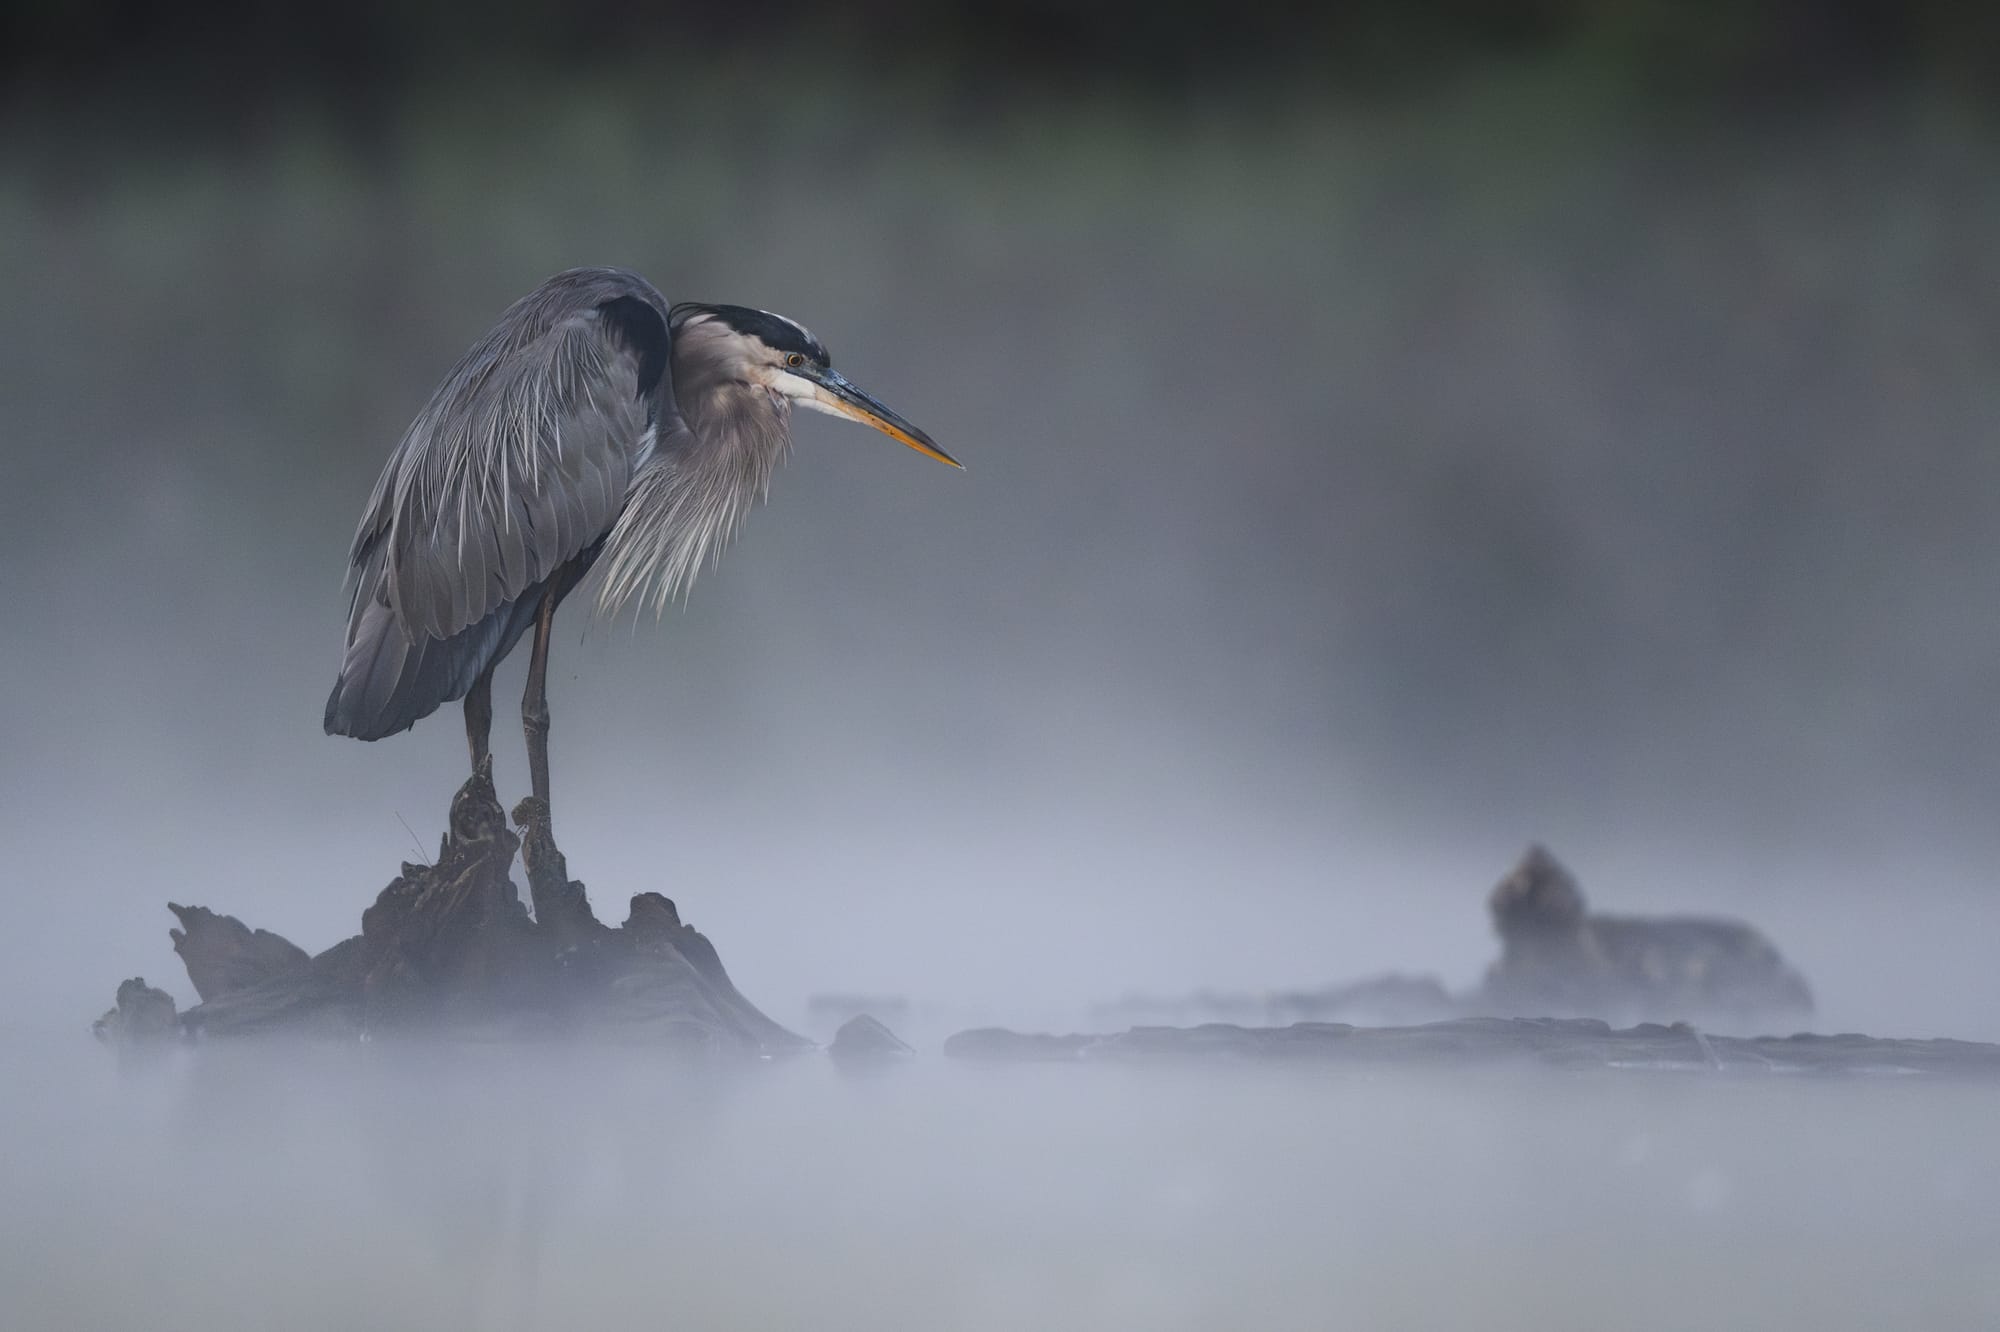
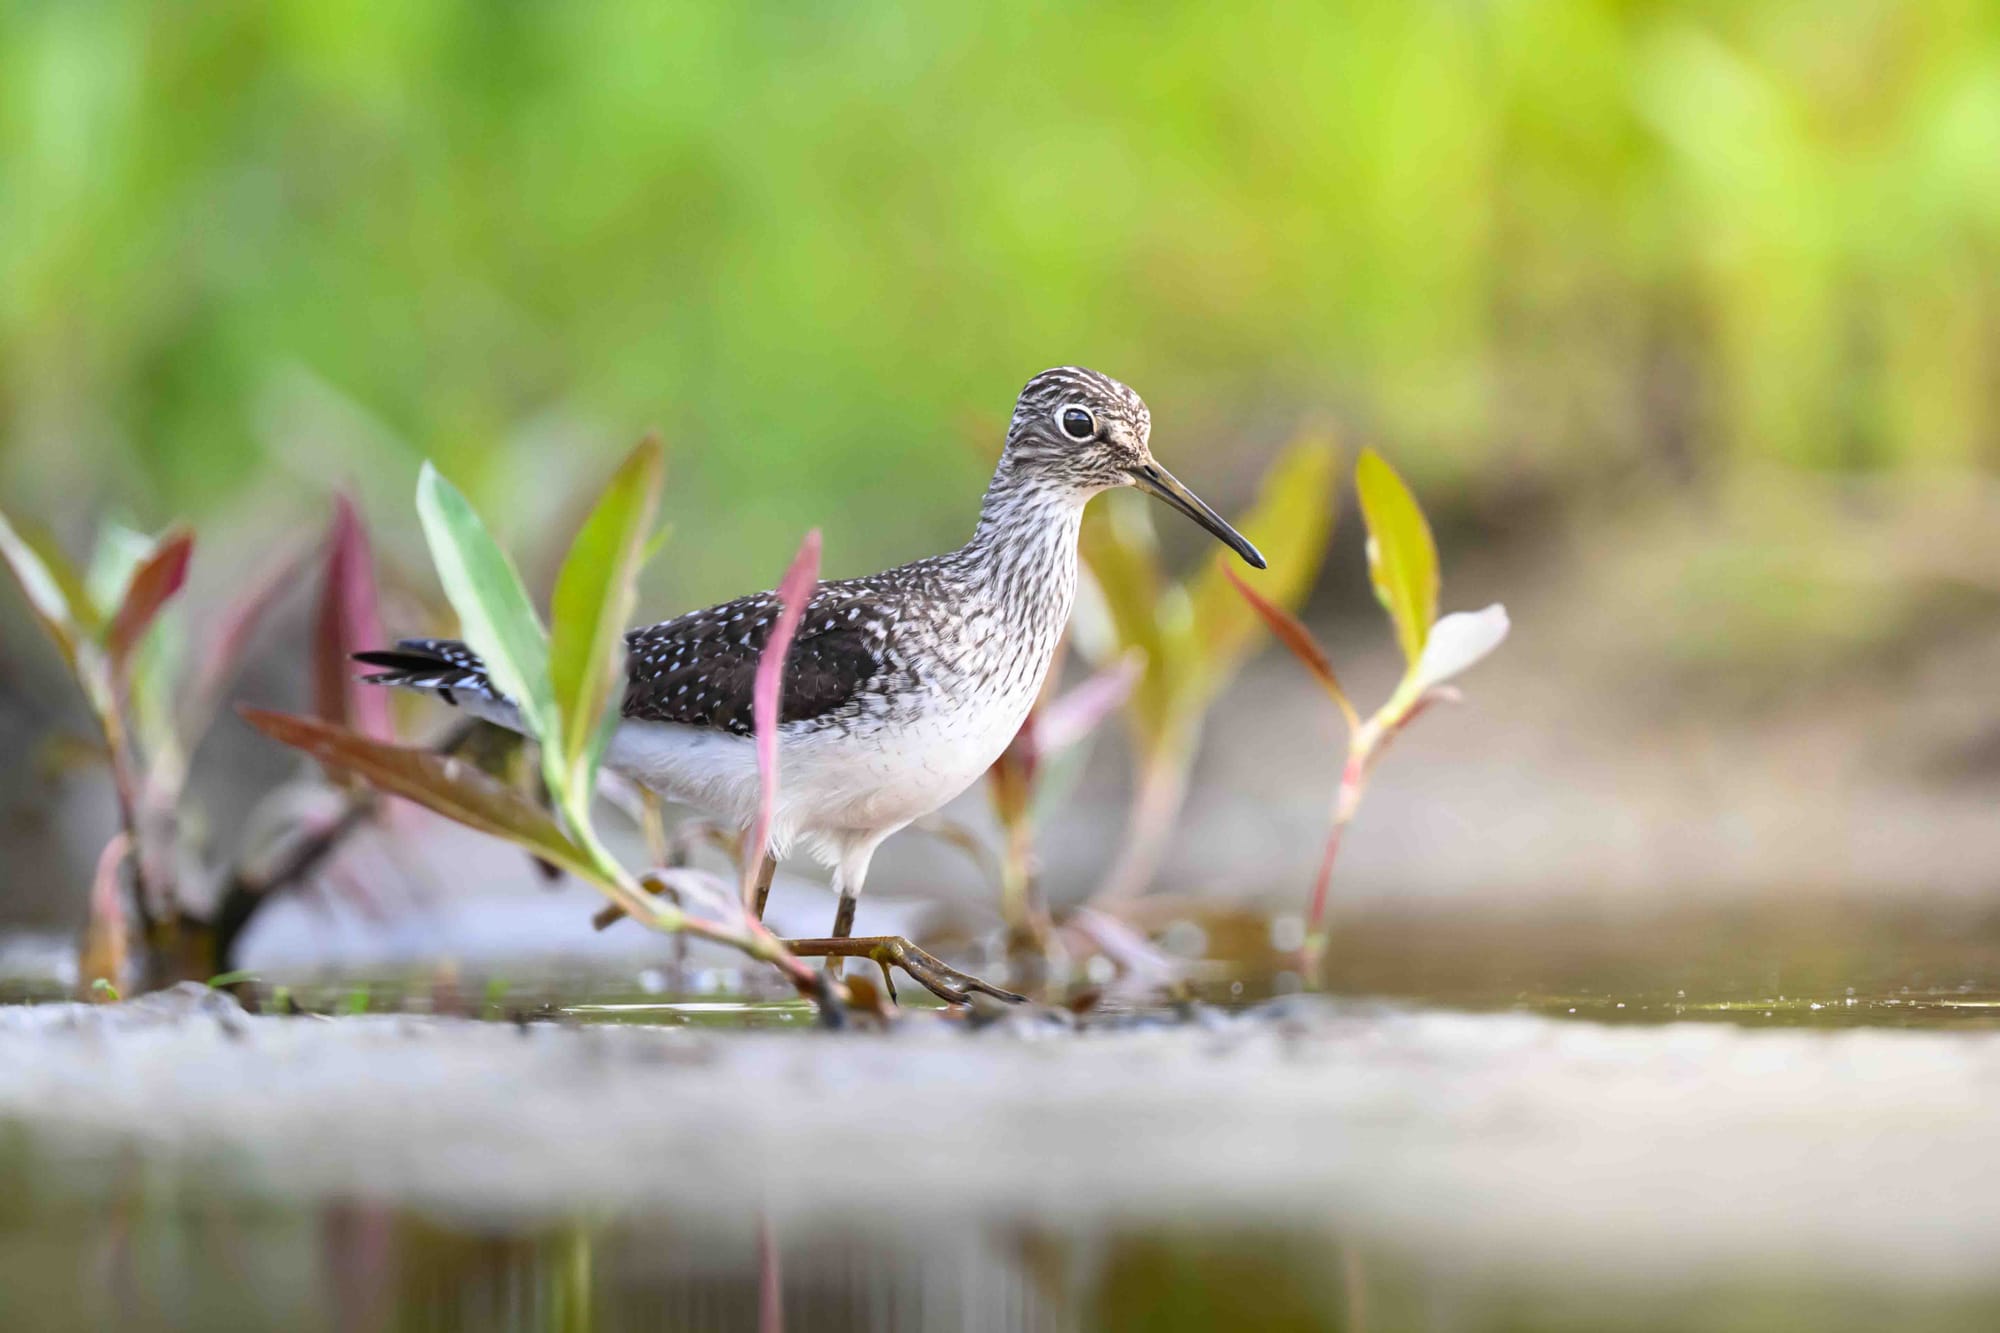
Great Blue Heron in the fog
Over the next five weeks I'm going to break down four principles I use every single time I'm out shooting. I call the framework WILD: Watch, Illuminate, Level, Depth. I want to be upfront about something before we go any further though: none of these ideas are new. Photographers have been thinking about behavior, light, perspective, and background forever. What I've tried to do is package them in a way that's a little cheeky and memorable, and useful and honest about how they actually work in the field, not as a checklist you run through before pressing the shutter.
The truth is it's often impossible to nail all four at once. Wildlife doesn't cooperate. The light is what it is. You can't always get low. But here's the thing I want you to take into the next five posts with you: each one of these principles, applied even partially, will make your photo a little bit better. One is progress. Two is real. All four together is the kind of image that makes someone stop scrolling.
But before we get into the framework, let's talk about where you actually start.
You don't need as much as you think
I talk to a lot of people who want to get into wildlife photography and the first thing out of their mouth is usually a version of the same question: what gear do I need? And I get it, because I asked the same thing. So let me just answer it directly and then we can move on to the stuff that actually matters.
It has never been cheaper or more accessible to get into this. The technology in modern mirrorless cameras, subject detect autofocus, high ISO performance, 15-20 frames per second, would have been professional-grade equipment just a decade ago. Pretty much every manufacturer now offers a zoom lens in the 200-600mm range for under two thousand dollars, and those lenses are genuinely good. Not a compromise. Actually good.
For birds specifically I'd suggest at least 600mm effective focal length. Less than 400mm and you're going to spend a lot of time frustrated. And if you're worried about the math on that, micro four thirds shooters have an advantage here. A 300mm lens on an OM System body gives you 600mm effective reach at a fraction of the weight and cost of full frame equivalents. I've watched my ten year old daughter come home with images that would have required a $10,000 kit ten years ago. I shoot Nikon because I entered the system with the brilliant and light PF lenses that cost a fraction of the "professional" glass.
The other thing I want to address is ISO, because I still talk to people who treat high ISO like a failure. It isn't. The denoise tools we have today, Lightroom, DxO PureRaw, Topaz, are genuinely remarkable. Don't let the number on your screen stop you from taking the shot.
Three settings that actually matter
I'm going to keep this brief because camera settings are honestly the least interesting part of wildlife photography, knowing them like any tool removes barriers between you and the shot, but I don't want to spend four paragraphs on aperture when we could be talking about light. But here's what you need to know to be functional in the field.
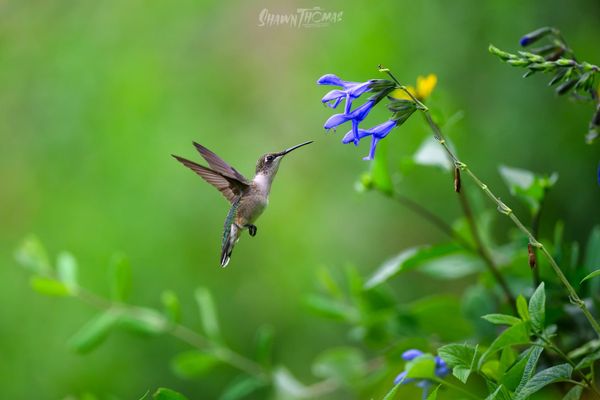
Shutter speed first. Birds are fast. I shoot a minimum of 1/1000 for anything moving and go up to 1/4000 when I need it. Hummingbirds have 50-80 wing beats per second, so that hummingbird image you're imagining needs 1/3200 minimum to freeze those wings. The smaller and faster the animal, the more shutter speed you need. This is your first priority.
ISO is not your enemy. Use auto ISO. I know that makes some people uncomfortable but wildlife is unpredictable and conditions change fast. If you're manually adjusting ISO while a kingfisher is deciding whether to dive, you're going to miss the shot. Let the camera handle it and clean the file later.
A fish crow shot at 20k ISO
Aperture: use the lowest your lens allows. Super telephoto lenses can only let in so much light by nature, and unless you want to spend a lot of money you work with what you have. The good news is that focal length does most of the heavy lifting for background separation anyway. An 800mm f/6.3 produces more background blur than a 35mm f/1.8, because the compression of a long lens matters more than aperture does. Distance from your subject to the background matters too. The farther that background is, the more it blurs regardless of your f-stop.
A bufflehead shot at 1600mm f13
That's really it. Shutter speed high, auto ISO, widest aperture you have. From here we can start talking about the things that separate a technically correct image from a great one.
WILD
Watch. Illuminate. Level. Depth.
Four principles. One per week for the next four Tuesdays. Each one is a full conversation on its own so I'm not going to shortchange them here, but I want to plant the seed of each one so you know what's coming and why it's worth your time.
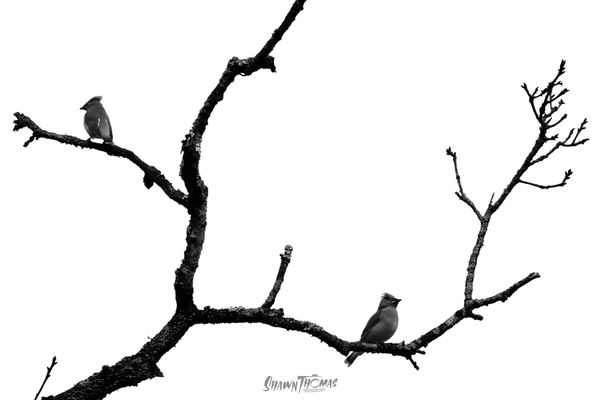
Watch is about learning to read animal behavior so you're ready when the moment happens instead of reacting after it's already gone. The best wildlife photographers aren't fast. They're prepared.
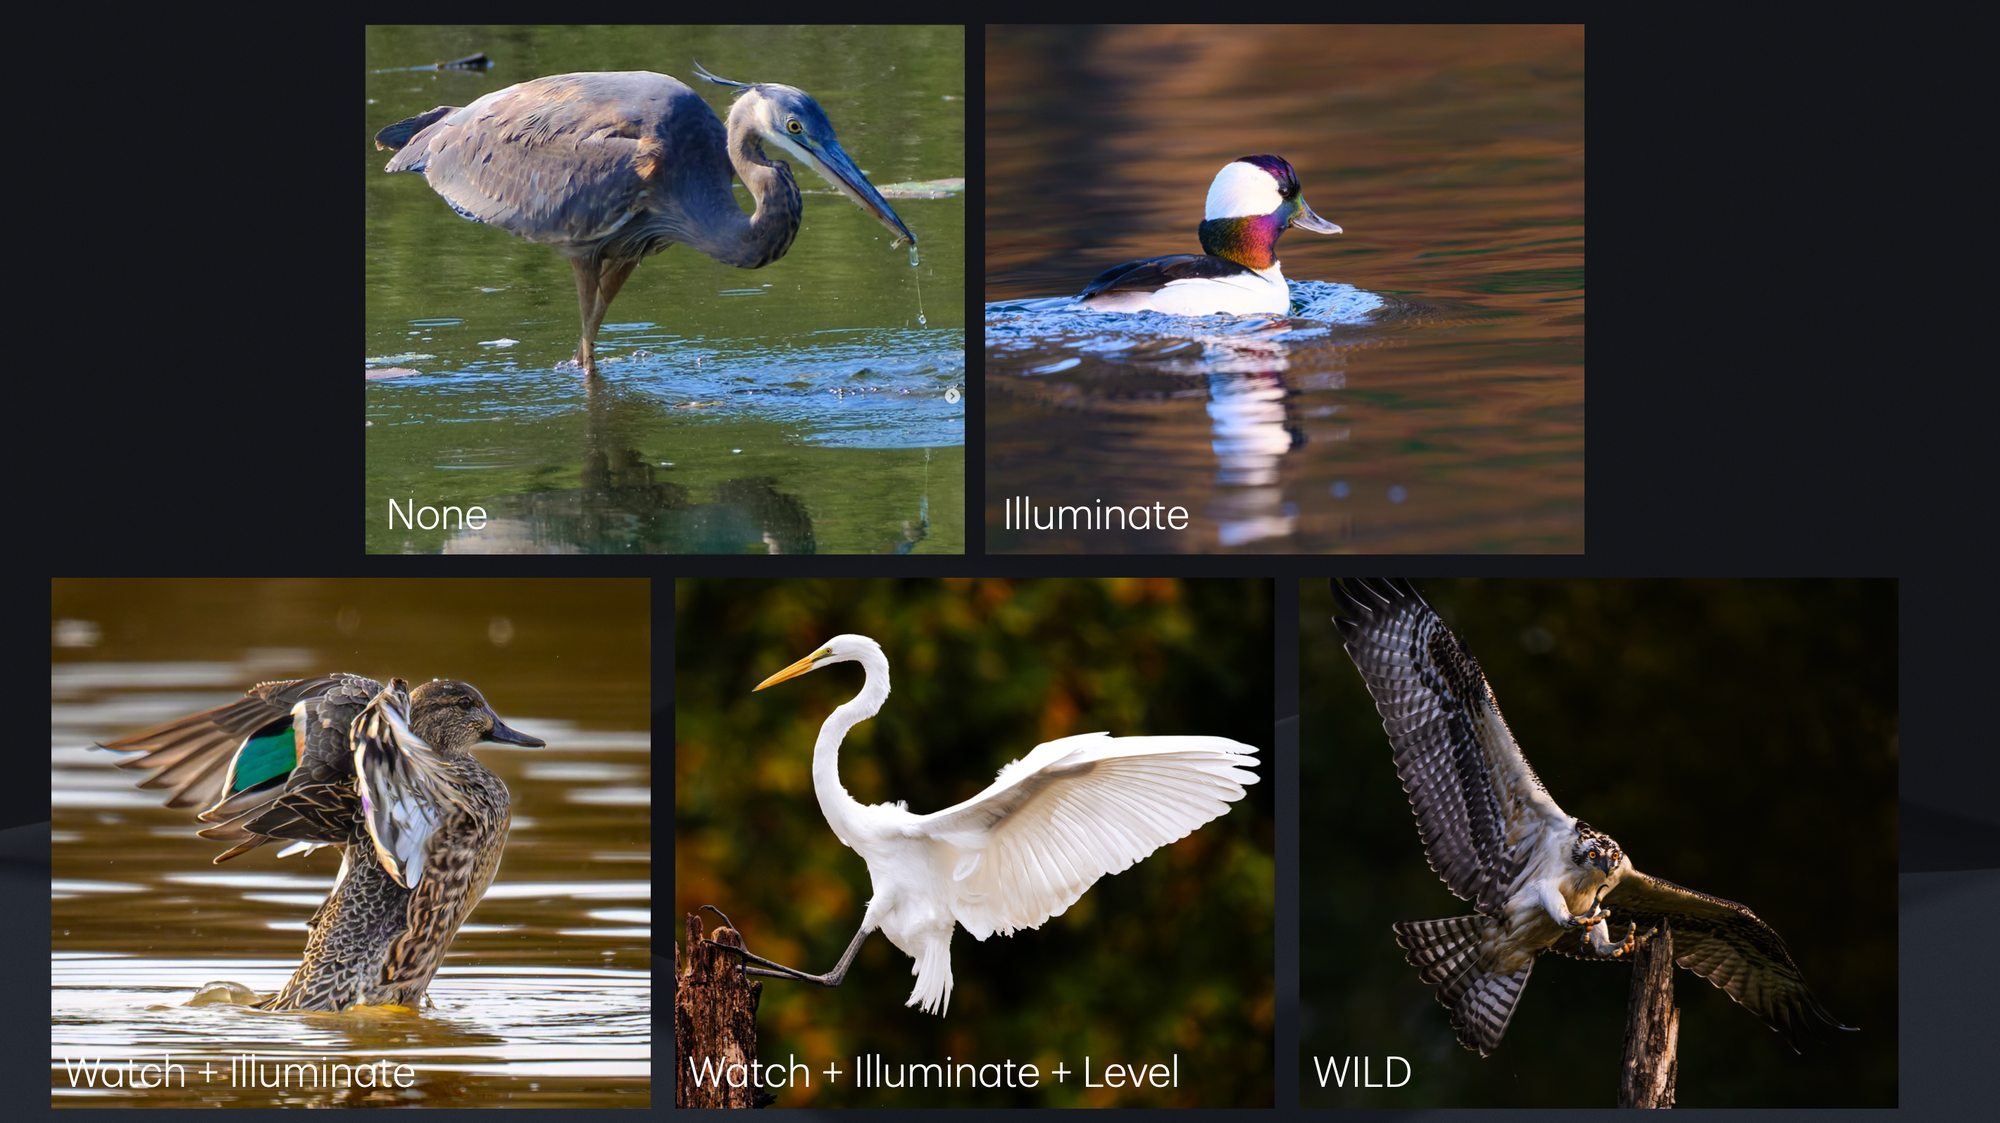
Illuminate is about your relationship with light. Where you position yourself relative to the light source changes everything. It's also about knowing how to emphasize light in post.
Level is probably the single highest-impact change most photographers can make. Get low. Get to eye level with your subject. The difference between looking down at a bird and being level with it is the difference between a snapshot and something that pulls you in.
Depth is about treating your background as an active creative decision, not just the stuff behind the bird. Sometimes you want it clean and smooth. Sometimes you want it to tell a story. Sometimes you want the subject so small in the frame that the environment becomes the whole point. All of those are choices, and they're yours to make.
Here's what I want you to sit with before next week: when all four of these come together, something changes in how you think about what you're doing out there. You realize you aren't really taking a picture of an animal. You're taking a picture of light, atmosphere, place, and moment. The animal is just the punctuation mark at the end of the sentence.
It's also worth mentioning again that conditions don't always allow you to capture all 4, and thats ok, but each one will make your image just a little bit better.
That's the goal. Not to shoot like me, I make a lot of mistakes and my style is very specifically mine. The goal is to give you a set of tools you can take out into the field and use to find whatever style is yours. These four things will help you do that.
See you next Tuesday. I'll also try to remember to update and link each part of this series right here going forward as they come out: